Add, edit, or cancel any event Ticket or Table purchase whenever you need.
RallyUp allows you to easily view and update event Ticket* or Table* purchases, which can be helpful if you need to rearrange seating, change an attendee’s information, or refund a purchase.
*Terminology may differ according to Campaign settings.
What should I know before updating Ticket or Table purchases?
- RallyUp allows you to customize terms such as Ticket, Table, Package, Event, Donations, and more. Terminology included in the instructions below may differ according to Campaign settings.
- At this time, you cannot change the type of Ticket or Table purchased. If you need to change an attendee’s Ticket or Table type, we recommend refunding the original purchase and asking the attendee to purchase the correct Ticket or Table type. This ensures that your attendee is charged the correct price and that your reports reflect the correct purchase amount.
How do I add a Ticket or Table purchase manually?
Note: When you manually add a Ticket or Table purchase to your records, the attendee(s) will not be charged. If you need to charge an attendee for their offline Ticket or Table purchase, you will need to go to your online Campaign Page and process the payment through checkout.
- Go to Account Navigation in the left menu and select Campaigns.
- If you have chosen a list view, click on the Campaign title. If you have chosen a grid view, click on the Campaign image.
- Select View Table Registrations or View Ticket Registrations.
- To add a Ticket purchase, click on ACTIONS and select Add Ticket:
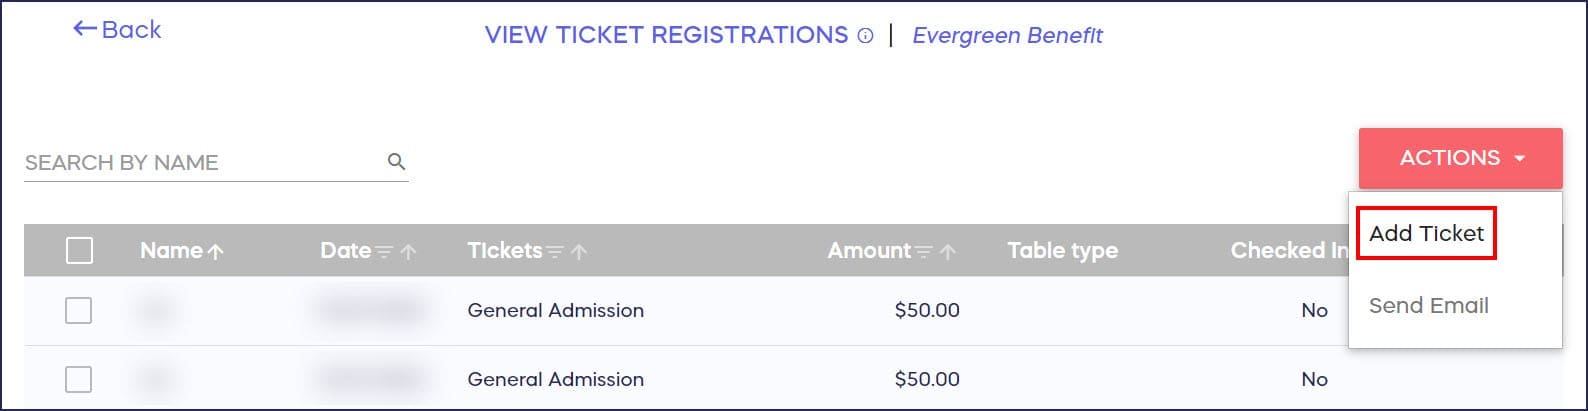
To add a Table purchase, select Add Table:

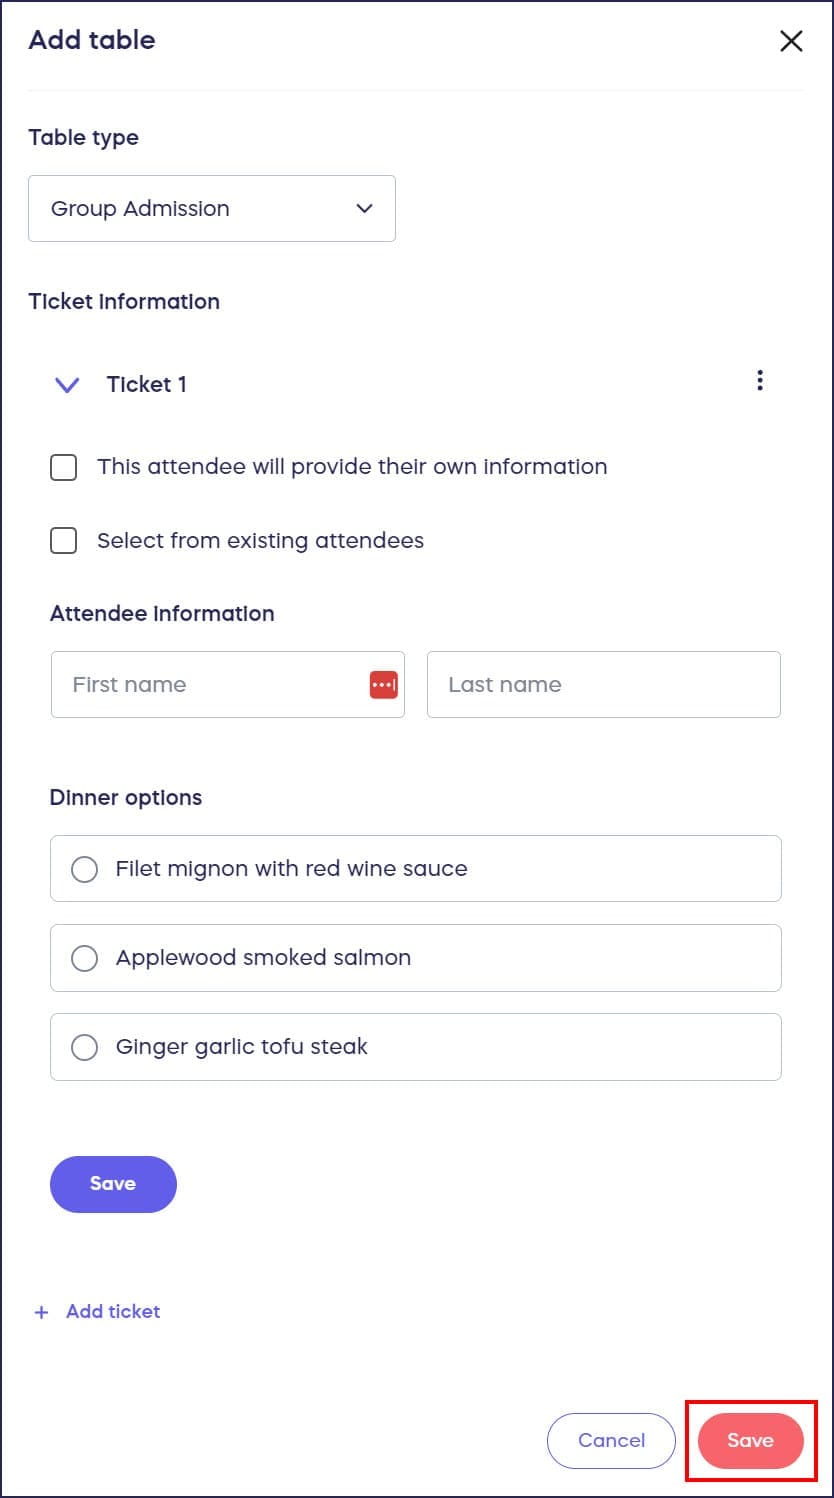
- Fill out the Ticket or Table details, then select Save:
How do I edit an existing Ticket or Table purchase?
- Go to Account Navigation in the left menu and select Campaigns.
- If you have chosen a list view, click on the Campaign title. If you have chosen a grid view, click on the Campaign image.
- Select View Table Registrations or View Ticket Registrations.
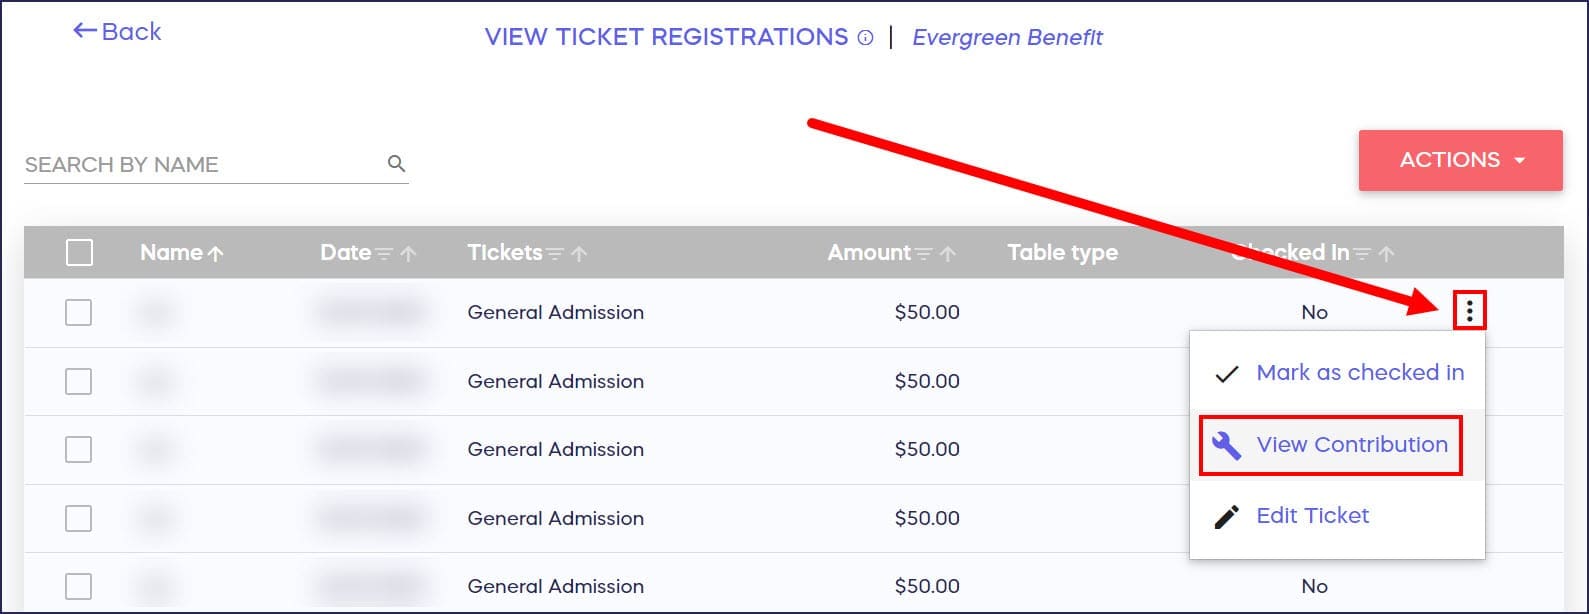
- Hover over the Table or Ticket you want to edit and select the three-dot menu on the right.
- Select Edit Ticket or Edit Table:

- Update the Ticket or Table details, then select Save:

How do I cancel and refund a Ticket or Table purchase?
- Go to Account Navigation in the left menu and select Campaigns.
- If you have chosen a list view, click on the Campaign title. If you have chosen a grid view, click on the Campaign image.
- Select View Table Registrations or View Ticket Registrations.
- Hover over the Table or Ticket you want to edit and select the three-dot menu on the right.
- If you’re on the View Ticket Registrations screen, select View Contribution, which will take you to the Ticket purchase in your donation records:
If you’re on the View Table Registrations screen, select View tickets, which will take you to a list of Tickets associated with that Table purchase, then select View Contribution for each Ticket you want to refund:

- Click on the three-dot menu on the right and select Cancel Donation:

Can I use this feature to check in event attendees?
You can also use the View Ticket Registrations screen to check in attendees the day of your event: How-to: Check In Event Attendees and A-Thon or Peer-to-Peer Participants.
Frequently Asked Questions
Will attendees be charged when I manually add a Ticket or Table purchase?
No, manually adding a Ticket or Table purchase to your records does not charge the attendee. To charge for an offline purchase, you must process the payment through checkout on your Campaign Page.
Can I change attendee information after a Ticket is purchased?
Yes, you can edit Ticket purchases at any time by going to View Ticket Registrations, selecting the three-dot menu next to the ticket, and choosing Edit Ticket to update attendee details.
How do I refund a Table purchase with multiple Tickets?
Go to View Table Registrations, select View Tickets for that table, then select View Contribution for each individual Ticket you want to refund. You’ll need to cancel each Ticket purchase separately.
Can I update seating arrangements when I edit Ticket or Table purchases?
You can rearrange seating by editing Ticket or Table purchases through the View Ticket Registrations or View Table Registrations screens, updating details as needed for your event layout.
Can I customize the terminology for Tickets and Tables?
Yes, RallyUp allows you to customize terms like Ticket, Table, Package, and Event in your Campaign settings. The instructions work the same way regardless of your chosen terminology.