Allow donors to make purchases, bids, and donations during an event and pay for everything when it ends.
If you’re planning to run an in-person fundraising event that incorporates other Components like Live Auctions, Fund-a-Needs, or Paddle Raise+, you’ll need to enable Event Balances. These allow attendees to donate more than once and pay for everything when the event ends, making them ideal for events where attendees have multiple chances to contribute.
How do Event Balances work?
- Each attendee receives a unique Guest Number when they purchase a ticket* to attend the event*. They can also save a payment method to their RallyUp account for easy checkout later.
- During the event, each purchase, donation, or bid an attendee makes will be saved to their Event Balance. If you need to look up or update someone’s Event Balance for any reason, you can pull it up easily using their Guest Number.
- When the event ends, you can send a checkout link to all attendees (self-checkout) or automatically charge all balances to the attendees’ saved payment methods (automatic checkout).
*Terminology may differ according to Campaign settings.
What are Guest Numbers?
Guest Numbers are unique ID numbers that are automatically assigned to each guest who has a ticket to your event. Their Guest Number will be included in their registration email for easy reference, but you can always look it up in the system if needed. Guest Number assignments start at 100 and go up from there.
How do I find an attendee’s Guest Number?
There are two ways to look up an attendee’s Guest Number if they can’t remember it or have lost their registration email:
How do I find a Guest Number from the Manage Event Balances screen?
- Go to Account Navigation in the left menu and select Campaigns.
- If you have chosen a list view, click on the Campaign title. If you have chosen a grid view, click on the Campaign image.
- Go to Event Management Quick Links and select Manage Event Balances.
- Search for the attendee’s name using the search bar.
- The Guest Number will be listed to the left of the attendee’s name:

How do I find an attendee’s registration email from their Donor Profile?
- Go to Account Navigation in the left menu and select Donor Profiles.
- Find the donor you’re looking for and click on their name. This will bring up their Donor Profile.
- Go to the Activity timeline on the right and find the email you’re looking for. Emails will be labeled Email sent:
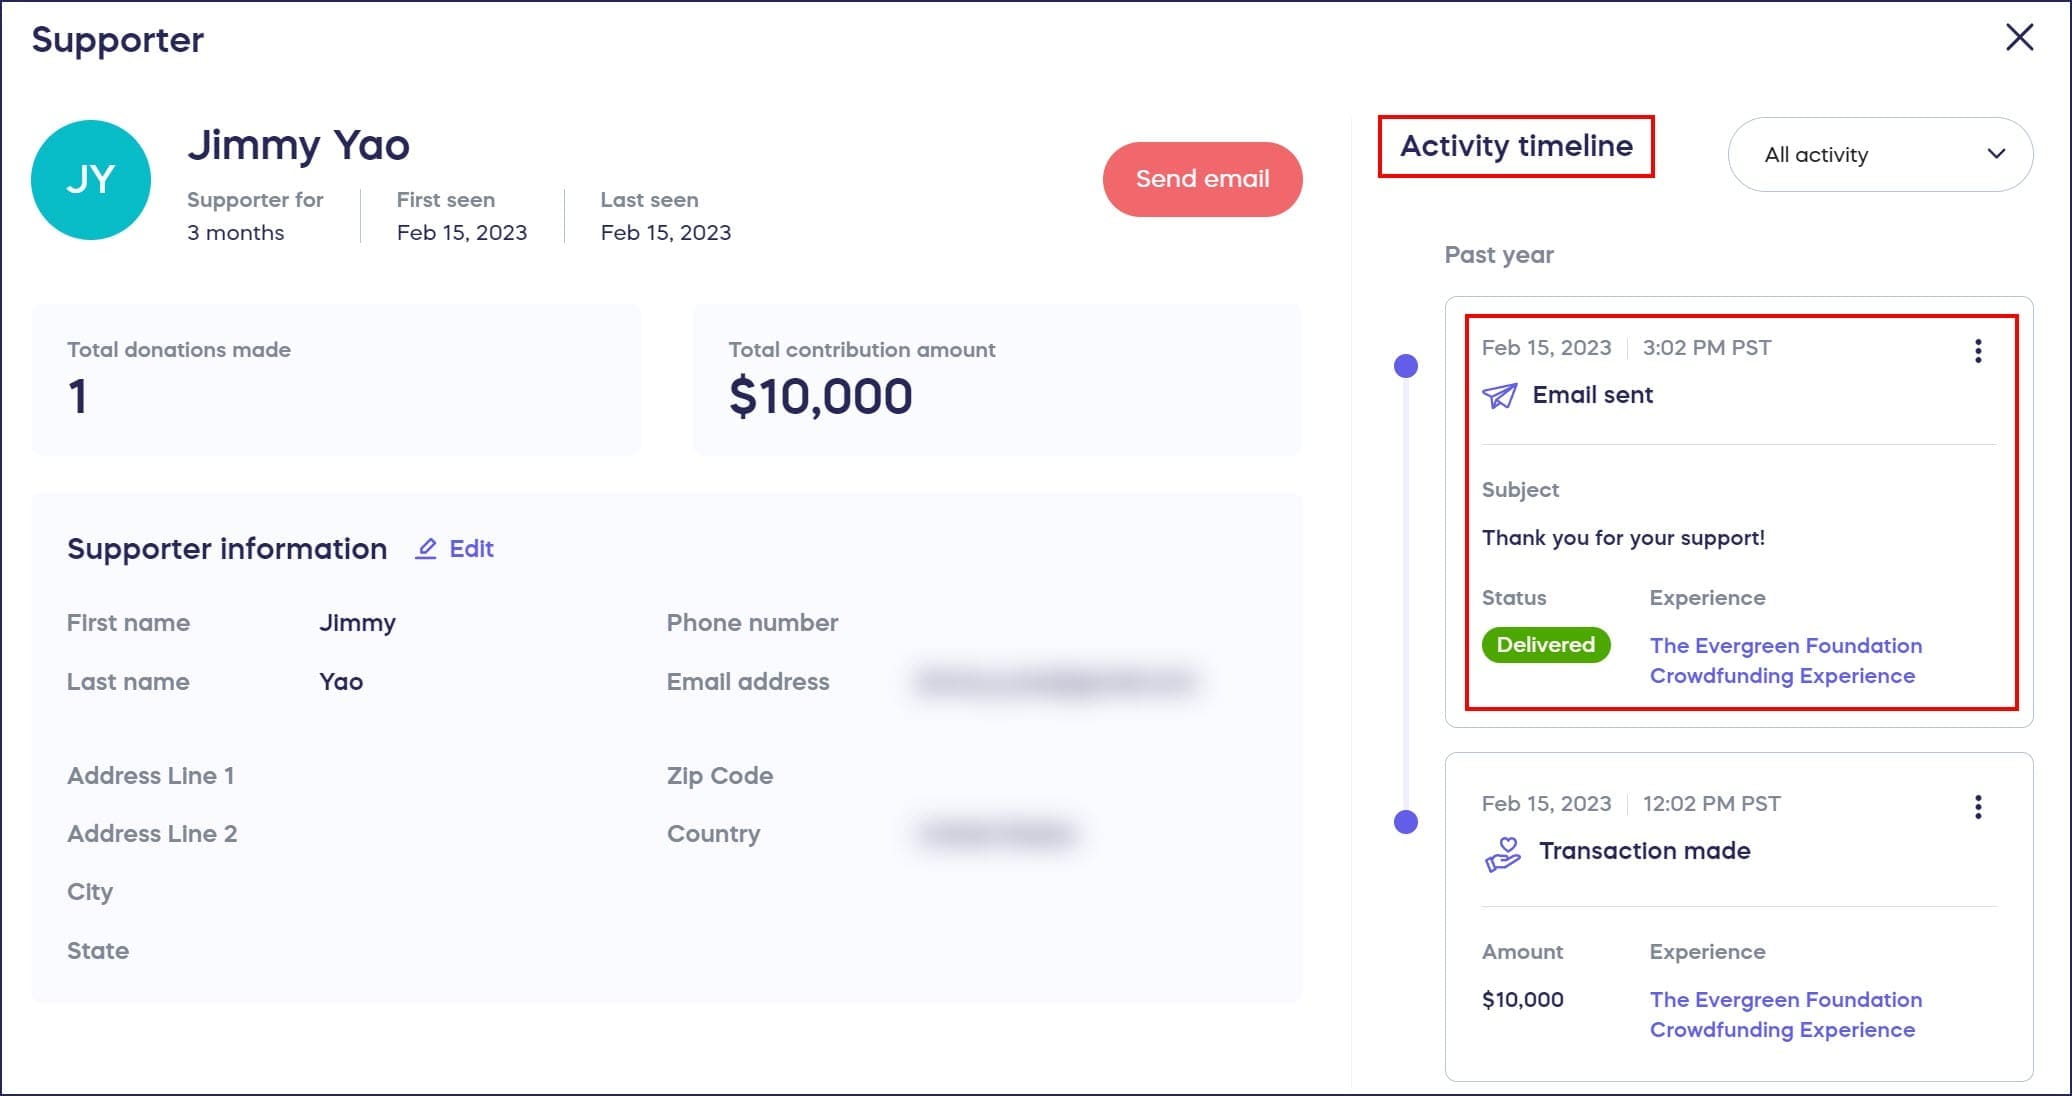
- Click on the three-dot icon:
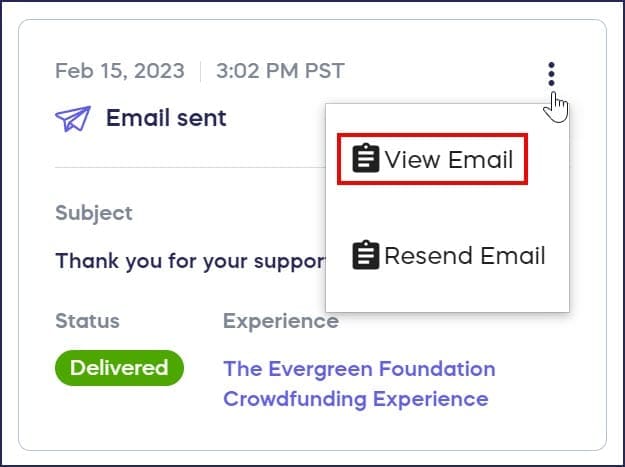
- Select View Email.
How do I change a Guest Number?
- Go to Account Navigation in the left menu and select Campaigns.
- If you have chosen a list view, click on the Campaign title. If you have chosen a grid view, click on the Campaign image.
- Scroll down to Event Management and select View Ticket Registrations.
- Search for the attendee’s name using the search bar.
- Hover over the row with the attendee’s name and select the three-dot menu on the right.
- Select Edit Seat.
- Find the assigned Guest Number under Attendee information and replace it with the Guest Number you prefer. You can use any number as long as it hasn’t already been assigned to another guest:

- Select Save.
What’s the difference between self-checkout and automatic checkout?
All in-person events default to self-checkout, which allows attendees to review their Event Balances before being charged. When the event ends, you’ll send an email to each donor with a checkout link:

Automatic checkout charges attendees’ saved payment methods automatically when the event ends. To use this option, you’ll first need to require pre-registration for all attendees so they can create a RallyUp account and save a payment method: Understand: Campaign Pre-Registration.
No matter which option you select, you can always manually charge an attendee’s Event Balance before the event ends.
How do I enable Event Balances?
- Go to Account Navigation in the left menu and select Campaigns.
- If you have chosen a list view, click on the Campaign title. If you have chosen a grid view, click on the Campaign image.
- Select Campaign Setup.
- Go to Getting Started in the timeline at the top.
- Scroll down to Additional Options and click on the toggle next to Event Balances:
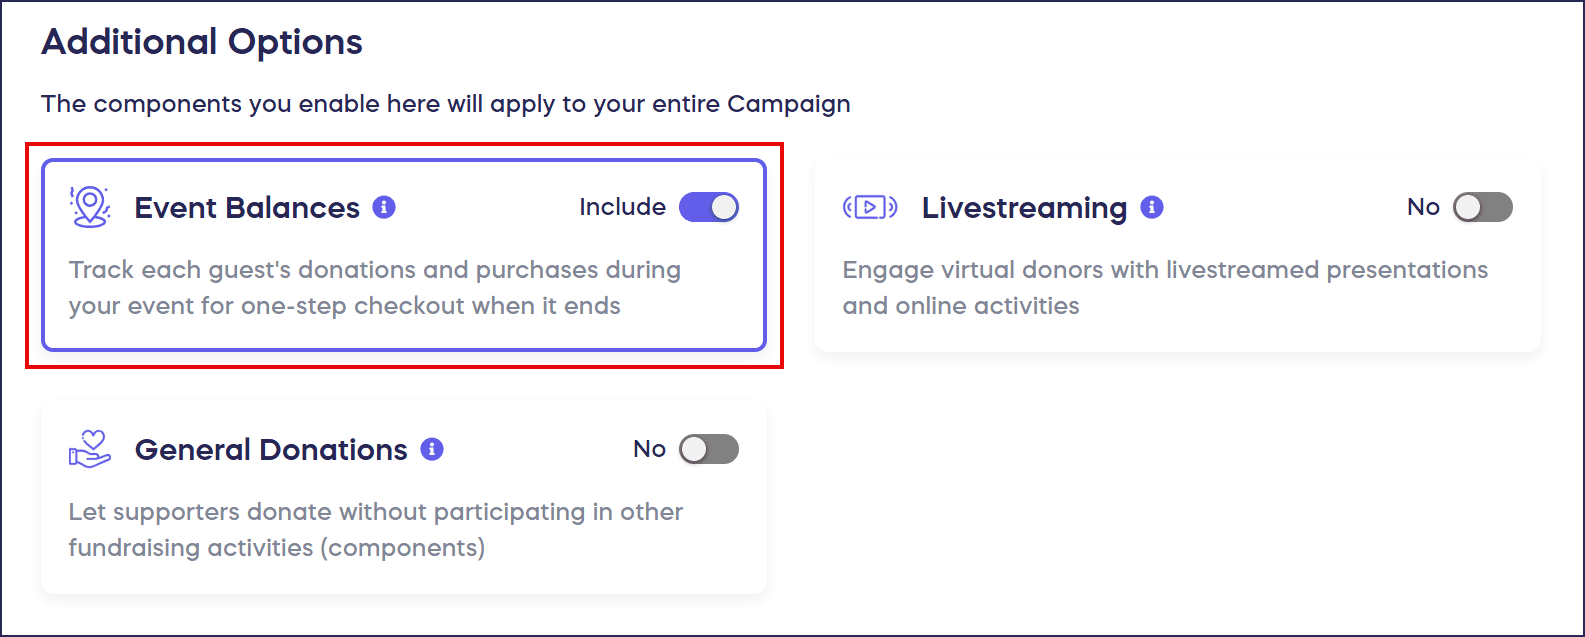
- Select Save.
How do I enable automatic checkout?
If you haven’t enabled Ticketing & Registration on your Campaign, follow the instructions in this article: Understand: Campaign Pre-Registration.
If you have enabled Ticketing & Registration and are selling tickets to your event, follow these steps:
- Go to Ticketing in the timeline at the top.
- Scroll down to Optional settings and select Show optional settings.
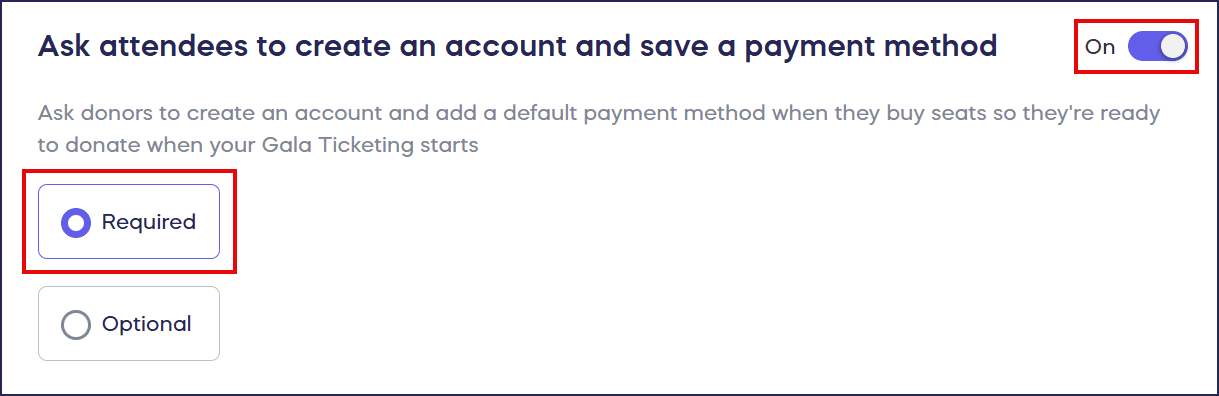
- Scroll down to Ask attendees to create an account and save a payment method and click on the toggle, then select Required:
- Scroll down to How do you want to charge Event Balances? and select Automatic checkout:

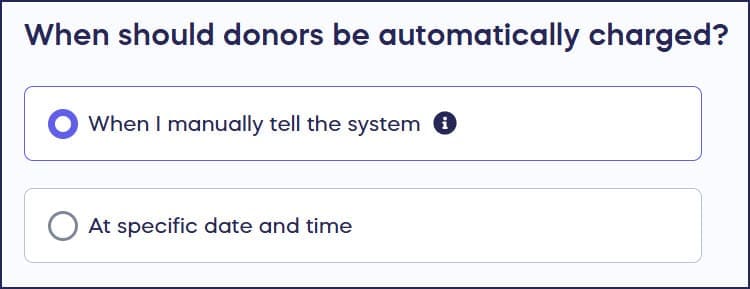
- Scroll down to When should donors be automatically charged? and select whether you want the system to wait to send the checkout emails until you tell it to, or automatically send them at a specific date and time:
- Select Save.
How do I initiate checkout for all attendees?
If you’ve set Event Balances to be charged at a specific day and time, you don’t need to take any further action – the system will take care of it for you. If you’ve chosen to initiate checkout manually, you can do so whenever you like:
- Go to Account Navigation in the left menu and select Campaigns.
- If you have chosen a list view, click on the Campaign title. If you have chosen a grid view, click on the Campaign image.
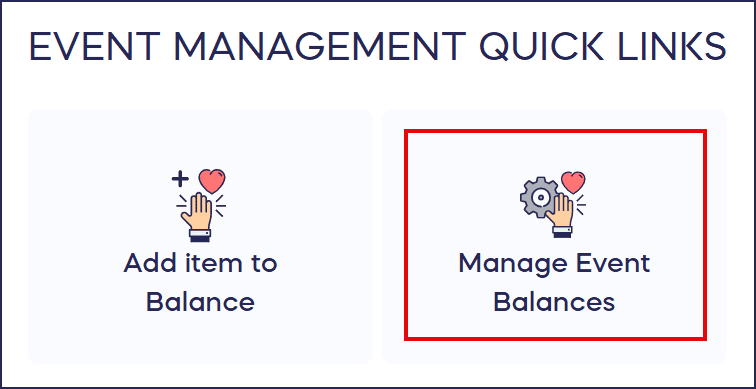
- Scroll down to Event Management Quick Links and select Manage Event Balances:
You can also access this screen in the Quick Admin Menu on the left:

- Click on Actions and select Send checkout emails for self-checkout, or Charge cards and close balances for automatic checkout:

How do I add items to an Event Balance?
- Go to Account Navigation in the left menu and select Campaigns.
- If you have chosen a list view, click on the Campaign title. If you have chosen a grid view, click on the Campaign image.
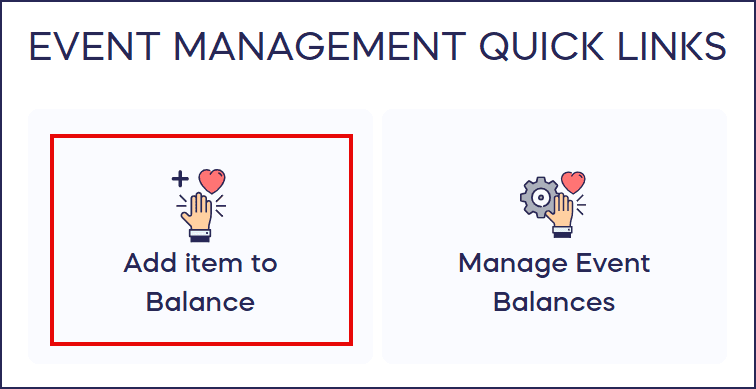
- Scroll down to Event Management Quick Links and select Add item to Balance:
If your event is currently running, you can also access this screen in the Quick Admin Menu on the left:

- Select the item you want to add to the Balance, enter the attendee using their Guest Number, email address, or name, and select Add item:
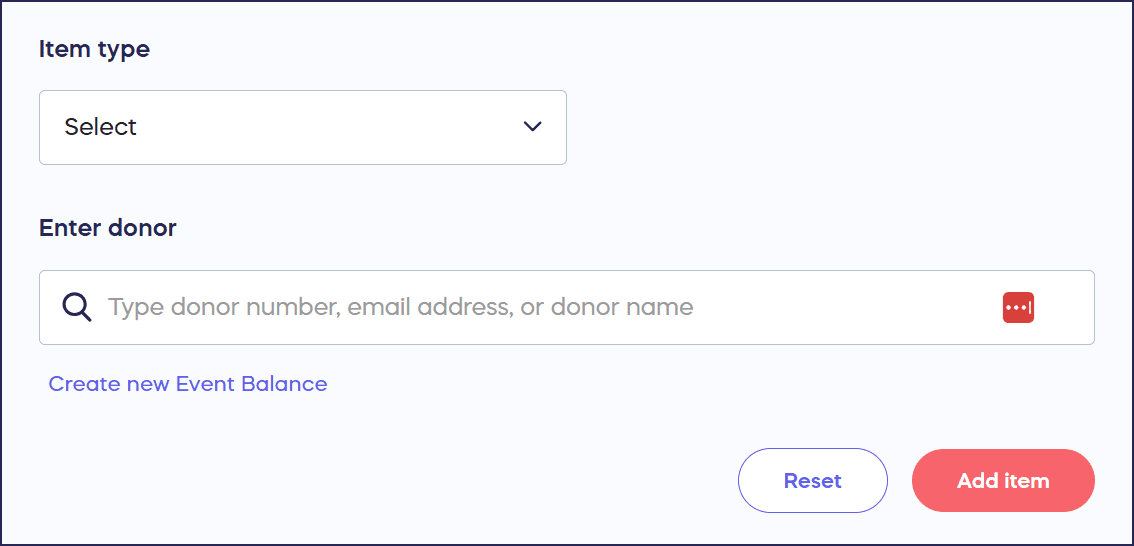
If the attendee in question doesn’t have an Event Balance, select Create new Event Balance.
How do I update or remove items from an Event Balance?
- Go to Account Navigation in the left menu and select Campaigns.
- If you have chosen a list view, click on the Campaign title. If you have chosen a grid view, click on the Campaign image.
- Scroll down to Galas & Events Management and select Manage Event Balances:
You can also access this screen in the Quick Admin Menu on the left:
- Use the search bar to find the Event Balance you want to update. You can search by attendee name or Guest Number:

- Hover over the Event Balance you want to update and click on the three-dot menu on the right.
- Select the action you want to take from the drop-down menu:

Manage balance allows you to add, update, or remove charges.
Can I manually charge an Event Balance before the event ends?
Yes! You have several options for manually charging an Event Balance at any time:
Charge card and close balance allows you to charge the total balance to the payment method on file.
Send checkout email allows you to send an email to the attendee so they can complete checkout themselves.
Charge manually allows you to charge the total balance in person to any payment method, including check or cash.
Frequently Asked Questions
What is a Guest Number and how does it work?
A Guest Number is a unique identifier assigned to each attendee when they purchase a Ticket to your event. This number allows you to easily look up and manage their Event Balance throughout the event.
Can attendees review their charges before paying?
Yes, with self-checkout (the default option), attendees receive an email with a checkout link that allows them to review all their purchases, bids, and donations before completing payment.
Do I need to require pre-registration to use Event Balances?
Pre-registration is only required if you want to use automatic checkout, which charges attendees’ saved payment methods when the event ends. Self-checkout does not require pre-registration.
Can I charge an attendee’s Event Balance during the event?
Yes, you can manually charge an Event Balance at any time during or after the event. This is useful for handling special situations or processing payments early if needed.
What payment methods can I accept when manually charging an Event Balance?
When manually charging an Event Balance, you can accept any payment method including credit cards, debit cards, checks, or cash. This gives you flexibility for in-person payment processing.