Welcome to our Help Center


Explore by topic
Help Videos


Video: Pricing in 75 Seconds
allyUp offers two main pricing plans: Free and Flex. With the Free plan, you raise funds without paying a Platform Fee. To cover operating costs, donors can optionally tip RallyUp at checkout. You'll never pay a Platform Fee, even if no donors tip. If you run a Raffle or Sweepstakes, donors are offered bonus entries in exchange for tips. With the Flex plan, donors are not asked to tip. Instead, a small Platform Fee is deducted from the funds raised. You can optionally enable Donor Tipping. If you do, tips and bonus entries will go to your organization. The Free plan gives you access to the Core Components of our Fundraising Portfolio: Raffles, Online Auctions, Sweepstakes, Ticketing & Registration, Crowdfunding, Peer-to-Peer, A-Thons, Storefront, and Livestreaming. In addition to the Core Components, Flex offers Advanced Components that help you manage in-person events: Live Auctions, Silent Auctions, Fund-a-Need, Paddle Raise+, Event Balances, Automated Checkout, and Live Display. Need custom pricing for a high-volume Campaign, gala, or other large in-person event? Contact us! We'd love to talk to you! No matter what plan you choose, you can create a free account and start fundraising today!

Video: RallyUp Fundraising Stack: How to Run Multiple Fundraisers on One Webpage
Hi! I'm Catie with RallyUp, and today I'm gonna walk you through how to run multiple fundraisers from one webpage. The RallyUp Fundraising Stack helps you raise more funds by easily stacking individual Components such as Raffles, Auctions, Storefront, and more into a single unified Campaign. So let's get into it. First, you're gonna log in to your RallyUp account, and then you'll go to Campaigns in the left menu and select New Campaign. And then once you're in Campaign Setup, you'll select all the Components that you want to add to your fundraiser. And here, I've got an Online Auction, a Raffle, Storefront, Ticketing & Registration, Peer-to-Peer; you can really add whatever you like and whatever you think will appear will appeal to your donors. And then once you're done adding all the Components that you want, you'll go to Dates and Times in the setup timeline at the top. And this is where you can add the start and end dates for each of your Components. And the really cool thing is that you can add the same or different start and end dates for each one. So here, I can enter the event date and time. I can choose when donors can start purchasing tickets. And then when choosing the start date for my other Components, that could be when my event starts, when I start selling tickets, at a specific date and time, or I can choose different start dates for each. And then same thing with the end dates. I can choose the same one for all of them, or I can choose different end dates for each one. And then once you're done with that, you'll just go through each step and set up all of your Components within the same setup process. And then once your campaign is ready to launch, this is what it'll look like to donors. So they'll go to your Campaign Page, and they can choose what Components most interest them. They can participate in multiple or just one. And then another really cool thing is that no matter what kinds of purchases or donations or bids that they make, everything gets added to the same cart. So here, I've got a donation, Raffle entries, a t-shirt, event tickets, I've even got an Auction bid. And instead of having to complete checkout for each one of these individually, I can take care of everything in one checkout step. And that is how you run multiple fundraisers on one webpage with the RallyUp Fundraising Stack. Thank you so much for watching, and I'll see you in the next video.
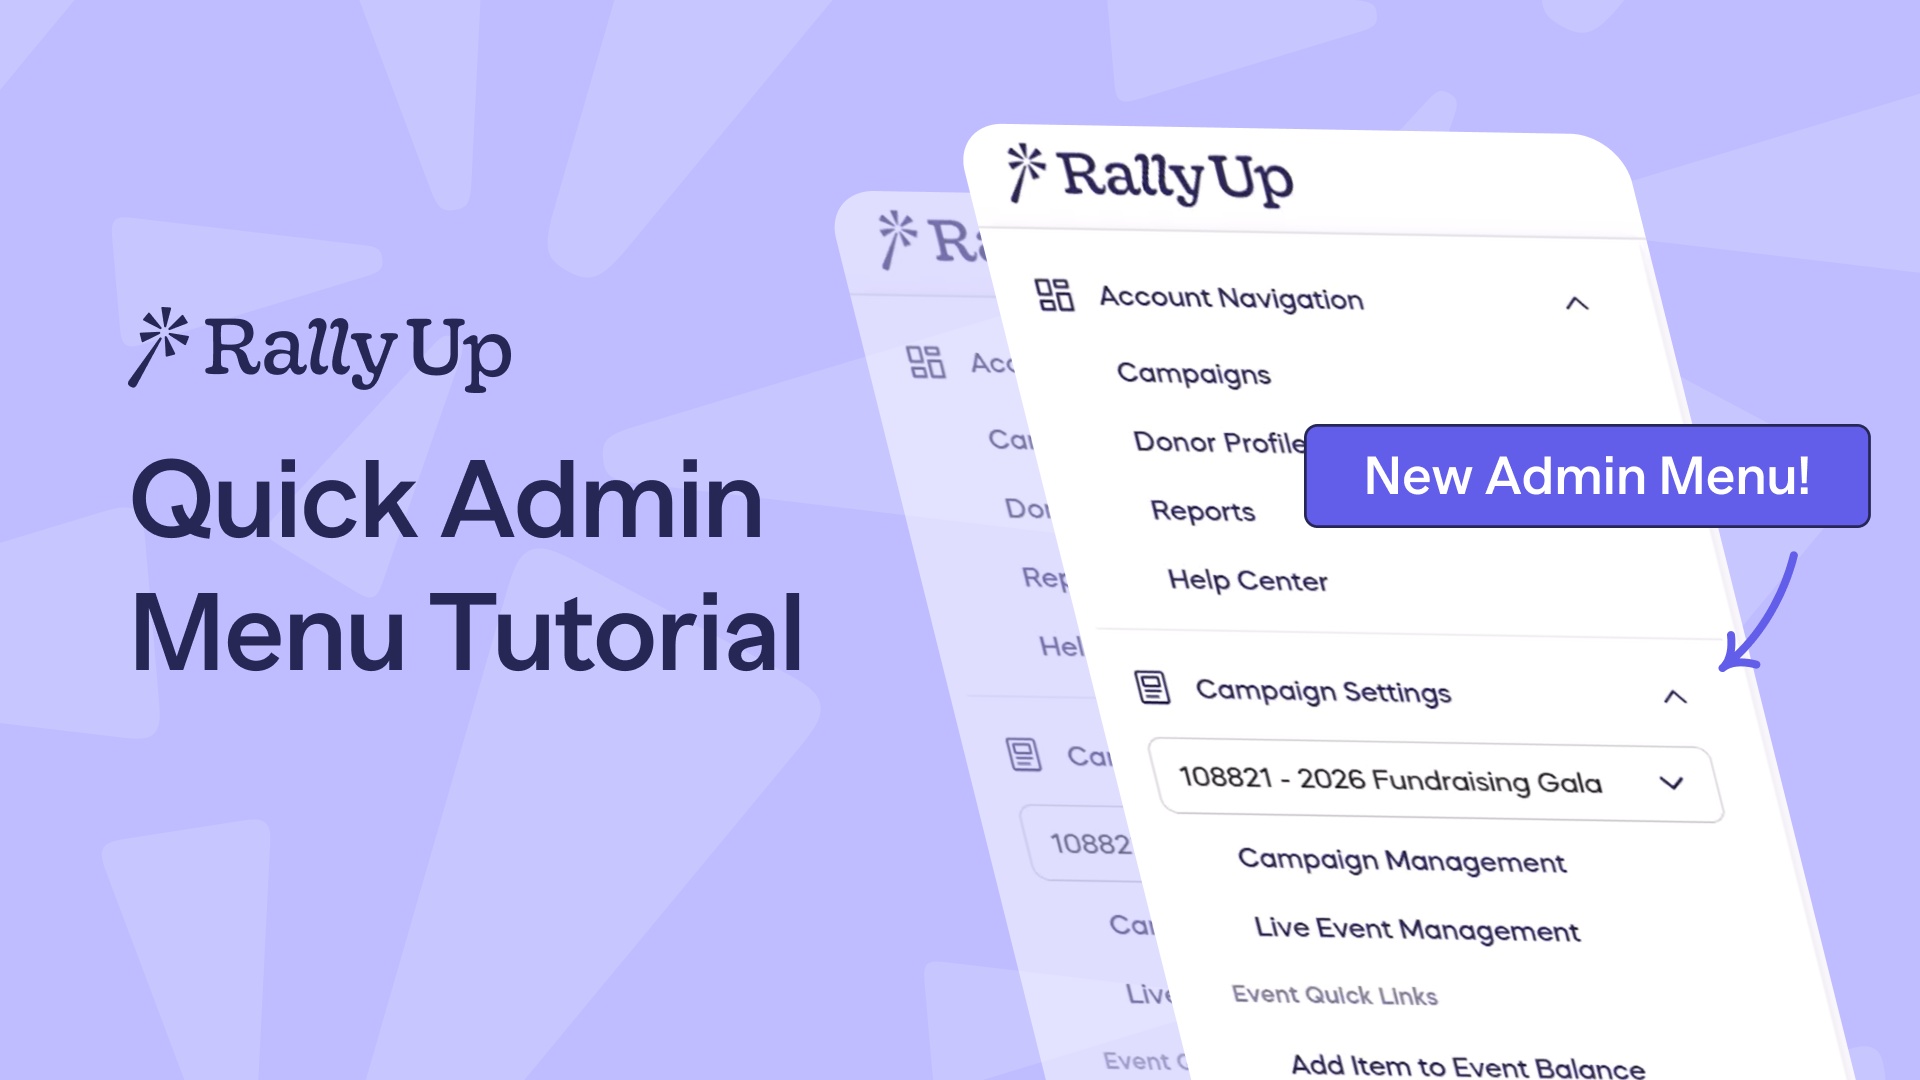
Video: Quick Admin Menu Tutorial
Hi! I'm Catie with RallyUp. We've made some exciting changes to our left menu, and I'm gonna walk you through them. So first, you'll log in to your RallyUp account and go to, you guessed it, the left menu. And you can see that your Account Navigation settings like Campaigns, Donor Profiles, Reports, are all still in the same place, as well as your Organization Settings like Branding, Profile, Payment Processing. All of these are still where they used to be, so you can find them whenever you need. And our newest update is our Quick Admin Menu, which is for currently running Campaigns or in-person events. So you'll go to this drop-down menu, and you'll select the live Campaign or event that you want to manage. And the quick links that you see here will depend on what settings you've enabled for your Campaign. So you can see here, this is an in-person event. And these quick links will let me go straight to the Paddle Raise management menu if I want to run a live Paddle Raise and ask for donations. I can also manage Event Balances, which are kind of like bar tabs or restaurant tabs where donors can simply add purchases throughout the event to their, to their balance, and then pay for everything at the end. And then I can also go to specific Event Balances and add an item really quick. And then I've also got a Live Event Management Menu with the same quick links. And I can even go to the Campaign Management Menu very quickly. And this just lets you get straight to what you need to manage your event or Campaign without having to navigate through the interface. It's just very quick and very simple. And that is our new left menu and our Quick Admin Menu. Thank you so much for watching, and happy fundraising!
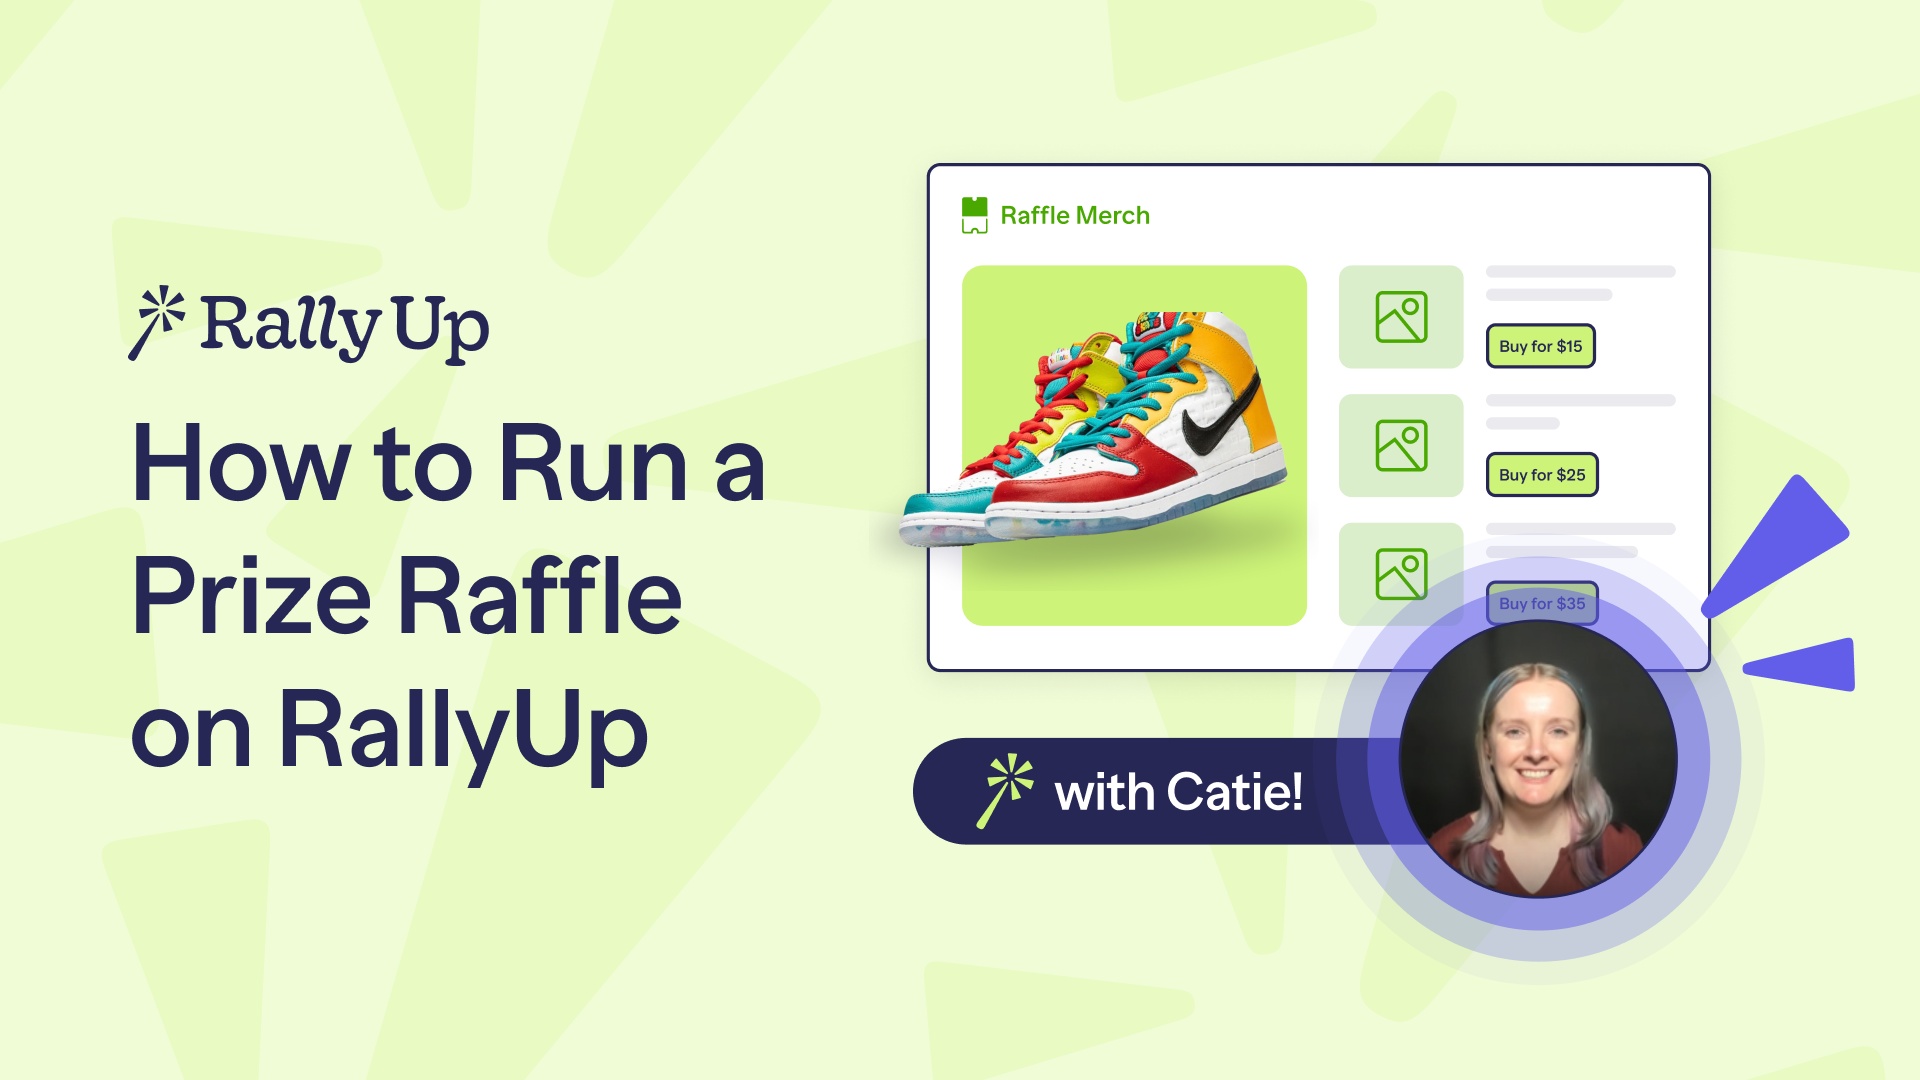
Video: How to Run a Prize Raffle on RallyUp
Hi! I'm Catie with RallyUp, and I am going to walk you through how to run a Prize Raffle on RallyUp. Now when you first log in to your RallyUp account, you'll go to Campaigns in the left menu, and then you'll select New Campaign. Now as many of you are already aware, Raffles are pretty heavily restricted, and those restrictions can differ depending on where you're located. So how this works for RallyUp is, if your organization is a registered 501c and is located in an area that allows online Raffles, then when you go to Campaign Setup, you'll simply see this Raffle option, and that's what you're gonna click on. However, if your organization is not a registered 501c and/or is located in an area that prohibits online Raffles, you are going to see this Offline Only option, and that's what you're going to click on instead. Now, of course, you should always double-check local laws and regulations to make sure that you can run a Raffle at all. And if not, Sweepstakes is always a great option, but that's for another video. So once you've selected Raffle, you are going to continue through Campaign Setup. And when you get to the Raffle portion, where it says Select your Raffle type, you're going to select Prize Raffle. You'll also see Cash Raffle as an option, but that again is for another video. So after you've selected Prize Raffle, scroll down to Add Prizes and select Create a Prize. And this will allow you to add images. You can add more than one. You can also add a title, a detailed description that you can format however you like. There's a couple of other settings. Basically, RallyUp makes it easy for you to make your prize look as attractive as possible to your donors, and that way they're encouraged to purchase entries. Now once your Raffle is all set up and you're ready to launch, what do things look like from the donor end? Well, if you're running an online Raffle, then donors can simply come to your Campaign Page, and they can select the number of entries they want from the entry levels that you've set up. Or if you want them to, they can choose how many entries they want instead. However, if you're running an offline Raffle, then things are gonna work a little differently. So you'll still have a Campaign Page. You can still set up entry levels. You can still show off your prize, all of that good stuff. But when donors go to purchase entries online, they'll be notified that entries are available for in person purchase only, and they'll need to contact you to purchase them. And they can do that pretty easily. Just send a quick message. They can select the Contact Organizer button down here. And then once they've purchased their entries, you're going to want to manually enter these entries in the system. And that allows you to keep records, run reports, you can even use RallyUp to draw the winner if you want. So to do that, you will go down to this little gear icon in the bottom right corner of your screen. Click on that. And then where it says Raffle Management, you're going to select Manage Outside Raffle Entries. Alright. If you want to add entry purchases one at a time, you can do that. You can automatically assign entry numbers or use your own numbering system. If you collect the email addresses for each person who purchased entries, then you can also send an email receipt. And then you can save and add another or save and close. Or if you have a lot of entry purchases that you want to enter all at once, you can do that with our spreadsheet. And you can automatically assign entry numbers if you like or use your own numbering system, automatically send email receipts if you collect their email addresses. And then you simply download the template, fill it out, and upload it. And that's it! That is how to run a Prize Raffle on RallyUp. Thank you so much for watching, and I will see y'all in the next video.
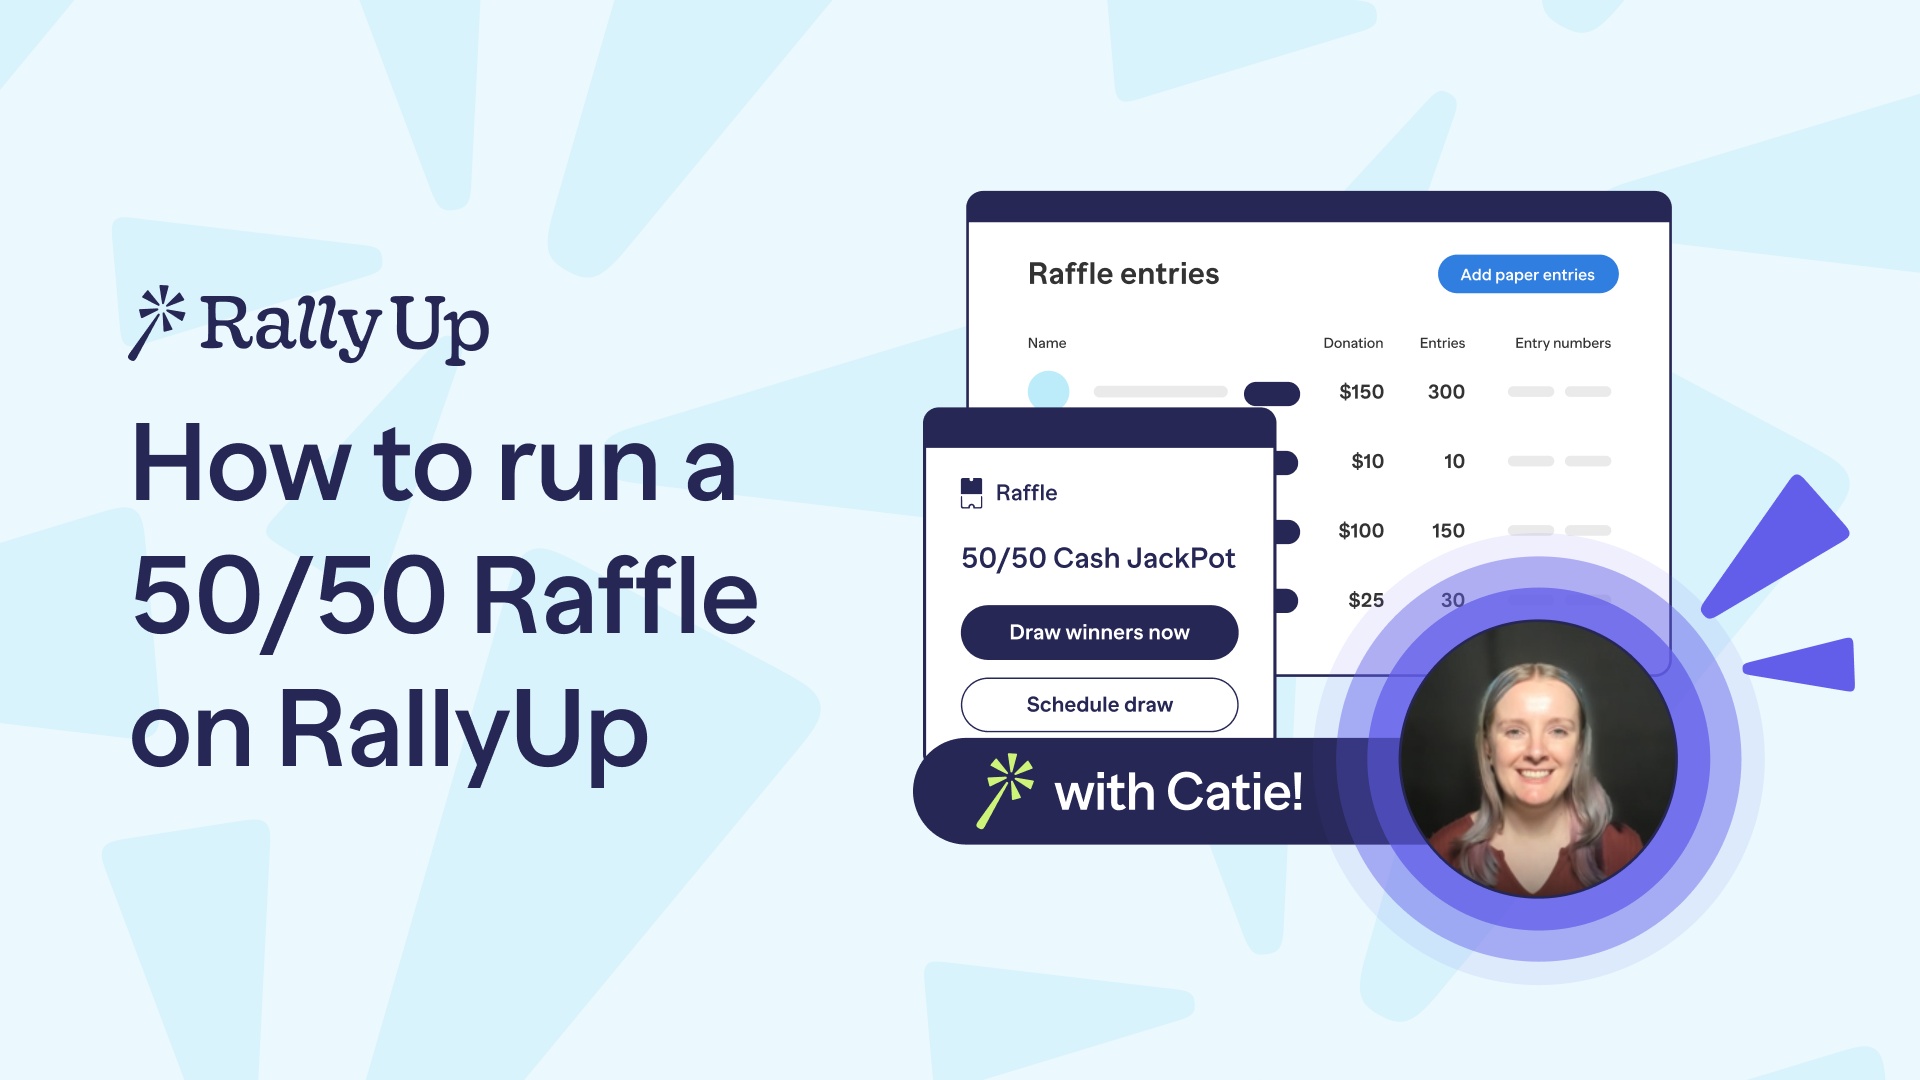
Video: How to Run a 50/50 Raffle on RallyUp
Hi! I'm Catie with RallyUp, and I am going to walk you through how to run a 50/50 Raffle, also known as Cash Raffles or Split-the-Pot Raffles. Now when you first log into your RallyUp account, you'll want to go to Campaigns in the left menu and then select New Campaign. And then once you're in Campaign Setup, you're going to want to select Raffle as your Campaign type. And of course, always double-check local laws and regulations to make sure you can run a Raffle. They're pretty heavily restricted, and those restrictions will differ based on what area you're in. So always double-check. Alright. And then when you get to the Raffle portion of Campaign Setup, you'll go to select your Raffle type, and you will select Cash Raffle. You'll also see Prize Raffle as an option. You can enable both in one fundraiser, but for now, I'm just gonna select Cash Raffle. And then when you're ready to add your cash prize, you'll simply scroll down to Add Cash Prize and select Create a Prize. And this will allow you to add images. You can add more than one if you want. Add a title, a description, and then this is where things get really fun. So the cash prize percentage doesn't have to be 50/50. It could be 60, 70, 25, 30, really whatever you like. And then you're also not limited in the number of winners. You can have just one winner, two, three, four. It really doesn't matter. It's just whatever is your preference. And then the prize percentage that you enter up here will simply be split evenly between all of your winners. And then once you have set up your Raffle, let's see what things look like from the donor end. So here we have a Raffle with a cash prize that is split between two winners who will be splitting 60% of the funds raised. And that amount is automatically calculated and displayed on your Campaign Page for you. You don't have to calculate that. RallyUp takes care of it. And then I've also got an example here of a 50/50 Raffle. It's more traditional. 50% of the funds raised go to one lucky winner. Again, that amount is calculated automatically. And then this is a Prize Raffle as well, so three runners-up will also get a gift card. So again, you can do both. You can just do one. RallyUp makes it easy to customize everything to fit your needs. And that is how you run a 50/50 Raffle on RallyUp. Thank you so much for joining, and I will see you in the next video!

Video: How to Run a Raffle With Multiple Prizes on RallyUp
Hi! I'm Catie with RallyUp, and today I am going to walk you through how to run a Raffle with multiple prizes. Now when you first log into your RallyUp account, you'll want to go to Campaigns in the left menu, and then select New Campaign. And then once you're in Campaign Setup, you'll want to select Raffle as your Campaign type. Now, of course, always double-check local laws and regulations to make sure that you're able to run a Raffle in your area because these restrictions will differ depending on where your organization is based. And then once you're ready to set up the Raffle portion, you will go to Select Your Raffle type and select Prize Raffle. But, of course, if you want to offer a cash prize in addition to regular prizes, you can select Cash Raffle as well, and then you can offer both in the same Campaign. And then if you're running a Raffle with multiple prizes, you have the option to select the type of entries that your Raffle will offer. So you can have donors purchase entries that will give them a chance to win any of the prizes available, or you can have donors buy separate entries for each prize that they're interested in. And then if you are offering a whole bunch of prizes, you can group them into Categories. This isn't required. It's totally optional, but it can help donors find the prizes that they're most interested in. And then you'll go to Add Prizes and select Create a Prize. And this will allow you to add images (you can add more than one), add a title, a detailed description that you can format however you like. Basically, you just want to make your prizes look really enticing and encourage donors to buy entries. And then once your Raffle is set up, let's take a look at how things look from the donor perspective. So if you're running a Raffle where donors can purchase entries for any of the prizes available, they will see this banner that says "Purchase entries for a chance to win any of the prizes below". And then they'll see the entry levels that you're offering, and then they will see the prizes listed. But if you're running a Raffle where donors can purchase entries for specific prizes, then when they get to where the prizes are listed, they can click on "Buy entries for this prize", and then they will see the entry levels that you're offering. And, of course, if you're offering a cash prize, then that will display on your Campaign Page along with all the other prizes. And if you have sorted your prizes into Categories, then donors can go to this drop-down menu and select the Category that they're most interested in, and then they will only see prizes that are assigned to that Category. But, of course, if they want to see all prizes, they can always do that. And that is how you run a Raffle with multiple prizes on RallyUp. Thank you so much for watching, and I will see you in the next video!

Video: How to Run a Sweepstakes on RallyUp
Hi! I'm Catie with Rally Up, and I am going to walk you through how to run a Sweepstakes. And Sweepstakes are a great option for any organization that wants to run a giveaway but isn't able to run a Raffle. The main difference is that Sweepstakes must offer a free method of entry, which I will get to later in the video. There's a couple of other requirements as well for compliance purposes, but RallyUp makes everything super easy and simple so you can start fundraising as fast as possible. So what you're gonna do is log in to your RallyUp account, and then go to Campaigns in the left menu, and select New Campaign. And then when you're in Campaign Setup, you'll select Sweepstakes as your Campaign type. And now I'm going to skip to Sweepstakes Setup. And where it says Add Prizes, you'll select Create a Prize. And this will allow you to add images. You can add more than one if you want. You can add a title, a detailed description that you can format however you like. Basically, everything you need to make your prize (or prizes, because you can add more than one) look super enticing and attractive to donors so that they will be encouraged to buy entries. And then once you're done adding your prize or prizes, you are going to enter the total approximate retail value of all your prizes. And you'll need to display this on your Campaign Page. And this just means that this is the amount that all of your prizes together would go for if you sold them instead of giving them away. And then once you're done with that, you can set up your entry levels. And RallyUp provides some standard entry levels that we found work well, but you can edit or delete any of these as you like. And you can even create Impact Levels that show how each donation amount will be used or the impact it'll have, or you can even offer merch with entry purchase. So you've got a lot of options. And then once you're done with that, you're going to enter your Sweepstakes end dates. And there are two dates that you're gonna enter. And the first end date is when you stop selling entries, and the second end date is the date of the drawing. And your drawing date needs to be at least three business days after you stop selling entries, and that just lets us, gives us more time to process any free entries that come in, enter them into the system. Just gives everyone a fair shake at winning a prize. And then once you're done setting up your Sweepstakes, there is a super quick review process that takes up to twenty-four hours, but typically much less than that, just to make every make sure everything is compliant and good to go, and then we will email you as soon as that's done. And then when your Sweepstakes is live, this is what it will look like to donors. So you'll have the entry levels that you set up, and donors can purchase entries for a chance to win any prize. You'll have your prizes listed. And then somewhere on your Campaign Page, you will need to display the Sweepstakes Official Rules. And these just go into prize details, approximate retail value, eligibility requirements for anyone who wants to enter. And then down at the bottom, you'll see an alternate method of entry link. And this is for the free entry option. Unfortunately, you do have to offer this. It is required for all Sweepstakes. But don't worry. They are limited to one free entry per person. And, honestly, you're probably not really even gonna get that many because we found that most people are more than willing to pay for entries because the proceeds are going to a charitable organization, and they want to support you and all the good work that you're doing. And then one last thing about the rules. So RallyUp provides a boilerplate rules that will work for most organizations. But if your legal team needs to make any changes, just let us know. That's totally fine. And that is how you run a Sweepstakes on RallyUp. Thank you so much for watching, and I will see you in the next video!
Video: How to Run an Online Auction on RallyUp
Hi! I'm Catie with RallyUp, and today I'm going to walk you through how to run an Online Auction. So when you first log in to your RallyUp account, you'll go to Campaigns in the left menu and then select New Campaign. And then when you get to Campaign Setup, you'll select Auction as your Campaign type. And now I'm gonna skip ahead to Auction setup. So the first question it's going to ask you is if you want to group items into categories. Now this can be really helpful if you have a lot of Auction items because it can help donors find what they're most interested in very quickly, but it's completely optional. You don't have to sort things into categories if you don't want to or don't need to. And then next, you'll go down to Add Auction items and select Create an item. And this allows you to add images (you can add more than one), add an item title, and then you'll add your starting bid, which can be whatever amount you want, and then your bid increment, which can also be any amount you want. And the bid increment is how much each bidder must bid in order to beat the current highest bid. So for instance, if the current bid is a hundred dollars and the bid increment is ten dollars, then the next bidder will need to bid at least a hundred and ten dollars, but they can bid more if they want to. And then there's also a Buy It Now option, and this allows someone who really, really wants an item to just go ahead and purchase it for a set amount instead of participating in bidding. But this is not required. You don't have to turn this on if you don't want to, and you can turn it on for some items but not others. And then you can add a detailed description, which you can format however you like. And then you can customize each item's sharing link to make them easier to remember, and you can create QR codes for each Auction item. And this is great if you want to run a Silent Auction because then these QR codes can replace bid sheets. And then if you want tax receipt options, then you can include the fair market value of each item. But, again, that's optional. And then I've got a couple of pretty cool features that I wanna show y'all. So the first one is called Auction Gifts, and this is a RallyUp exclusive. There's not a single other platform that has this. And, basically, what it is is that if a bidder doesn't win any of the Auction items that they bid on, they can opt to give a donation instead. Just a flat donation amount that will only be charged if they don't win any items, and they get to pick how much that Auction Gift would be. But, of course, this is optional. You can turn it on or off. You can customize the appeal that will display in checkout. You can customize how much the default Auction Gift amount is. I will show you all of this later in checkout. But this is a very, very cool feature that could really boost how much your Auction raises, because instead of just getting revenue from the winning bids, you could potentially get revenue from everyone who participates in the Auction. So that's really cool. And then the other feature I want to show you is that with RallyUp, you can choose your Auction bidding style. So each Auction or Online Auction will default to what's called English-style bidding, which is the traditional bidding where donors will manually submit bids. If they're outbid, they'll manually resubmit a new bid. But we also have Proxy bidding, which is a lot like eBay. So when donors first place their bid, they will set a maximum bid amount, and the system will bid for them, up until they either win the item or their maximum bid amount is reached. So that's a great option if your donors maybe don't have the time to be as invested as an English Auction would require. And then English Auctions are best for making sure that you get the maximum donation amount for each item. And now let's take a look at what Auctions look like from the donor perspective. So this is an English-style Auction, and donors will go to place their bids. They will enter their bid amount, add to cart. And then, at checkout, they have the option to receive text messages if they're outbid on Auction items. So RallyUp will always send an email, but getting a text as well can be very helpful. And then this is how the Auction Gift request displays in checkout. So there's the appeal text, the suggested Auction Gift amount, which, of course, they can customize if they want, and then they can set their Auction Gift, or they can opt out. It's always optional. Alright. And then we have a Proxy bidding example, which works almost exactly the same, except that when they go to place their bid, they will enter their maximum bid amount, which again could be whatever they want. And then if you have categories, then donors can search by category so that they only see the items that they're interested in. But, of course, if they want to see all the items displayed at once, they can always do that. And that is how you run an Online Auction on RallyUp. Thank you so much for watching, and I'll see you in the next video.